
How to Turn a Home Project Into a Useful Renovation Guide
A renovation rarely goes exactly as planned. The new kitchen may reveal old wiring, a deck project may take longer than expected, or a simple bathroom refresh may require a specialist. Keeping track of those decisions can help you manage the work now and give other homeowners a clearer picture of what their own project might involve. With a little preparation, your experience can become a practical guide rather than a folder of scattered receipts and photos.
Record the Starting Point
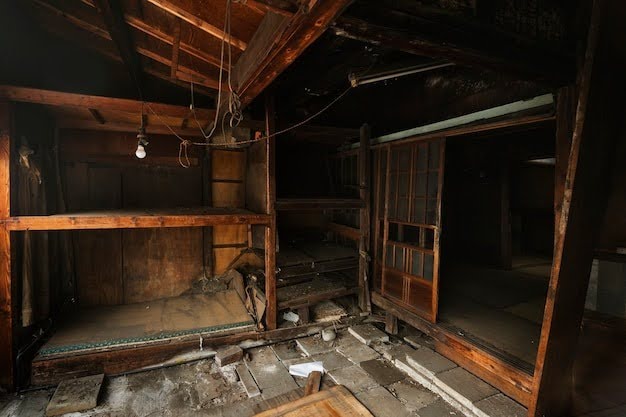
Before work begins, document the room or outdoor area as it is. Take wide photos and close-ups of existing fixtures, finishes, cracks, leaks, and other concerns. Note the dimensions, the age of major components if known, and any limits that could affect the work, such as a narrow access route or a shared wall.
These details are useful even if you never publish anything. They help you compare quotes, explain the job to a contractor, and check whether the finished work addresses the original problem. Keep a simple project log with dates, decisions, and unexpected findings. A short note written on the day is usually more reliable than trying to reconstruct events months later.
Separate the Plan From the Changes
Home projects evolve. A homeowner may begin with a plan to replace cabinets and discover that the subfloor needs repair first. Record both the original scope and any changes, including why they were made. This distinction helps readers understand what was essential and what was a preference.
Track the main costs in categories: materials, labor, permits, delivery, equipment rental, and disposal. Include a contingency amount in your own budget, but do not present a single project total as a promise that others will pay the same. Local labor rates, building conditions, product choices, and code requirements can all change the final figure. A useful account explains its context, including location and approximate project size, without implying that the numbers are universal.
Explain Who Did Which Work
Readers need to know whether a task was completed by the homeowner or a qualified tradesperson. Be clear about the limits of DIY work. Painting a room or assembling flat-pack furniture may be reasonable for many people; electrical, structural, gas, and complex plumbing work can involve safety risks, permits, and inspections. Requirements vary by location, so check local rules and consult a licensed professional where appropriate.
When you describe hiring a contractor, focus on the process rather than making a broad claim about one person or company. Explain what the quote covered, how the schedule was agreed, and what questions helped clarify expectations. If something went wrong, describe the issue fairly and say how it was resolved. Specific details are more useful than a simple rating.
Use Photos to Clarify, Not Just Decorate
Photographs can show progress that is hard to explain in a paragraph. Take them from similar angles at each stage, and include a detail shot when it helps explain a repair or installation. Ask permission before photographing workers, and avoid showing personal documents, family photos, house numbers, or security features that could identify your home.
Add captions that tell readers what they are seeing. A picture of an open wall, for example, should explain why it was opened and what was found. Avoid presenting an attractive “after” image as evidence that a hidden component was installed correctly. Where safety or code compliance matters, those questions belong with a qualified professional or inspection record.
Shape the Experience Into a Clear Article
A practical project guide usually follows the order a homeowner would want to know things: the original problem, the plan, the preparations, the work, the setbacks, and the finished result. Use headings to make each part easy to scan. Include the decisions that affected cost, time, maintenance, or daily routines, and leave out details that do not help someone make a choice.
If you want to share your experience on another home or renovation website, look at its existing articles before pitching an idea. A guest posting opportunity is most useful when the proposed piece fits that site’s readers and offers information they can apply. Suggest a focused subject, such as choosing between repair and replacement, planning a small bathroom update, or avoiding delays during a flooring project. Follow the publisher’s submission requirements and disclose any relevant commercial relationship.
Get Help Without Losing Your Perspective
Writing, editing, photography, and graphic design can take time, especially when you are already coordinating a project. If you need specific support, a freelance marketplace such as Osdire lets buyers find services across categories including writing and translation, design, photography, and marketing. Its flat pricing and payment held until the delivered work is approved may help clarify the arrangement. Even with an editor, provide accurate notes and review the final draft yourself; no freelancer can verify details that were never recorded.
Make the Guide Useful After the Work Is Done
Before sharing an article, check measurements, product names, dates, and totals against your notes. Identify estimates as estimates and separate personal preference from general advice. If a choice has ongoing maintenance needs, mention them. A deck finish, for instance, may look excellent at handover but still require periodic cleaning or resealing.
Home projects are personal, but the lessons can travel. A balanced account of what worked, what changed, and what you would plan differently gives other homeowners a more realistic starting point. It can also help you keep a record of the improvements made to your own home—valuable information when it is time for repairs, future upgrades, or a sale.